Posted: 12/14/09
Builder: Mike LohmannLocation: Long Island NY
Build: Custom Axial SCX10
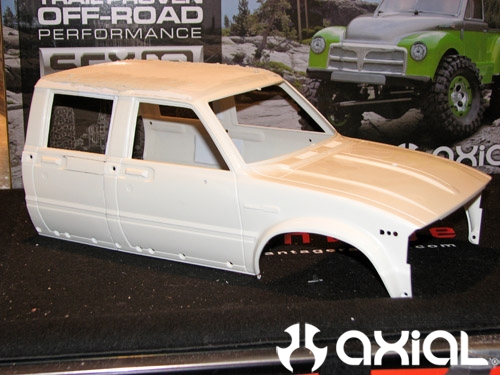
When Axial released their SCX10 kit, I knew I had to have one. It has an awesome realistic C channeled frame that reminds me of the old Tamiya Bruiser frame, and had awesome 1.9 bead locks and proline flat iron tires. At the time of their kit being released, I had so many projects going on that I didn't have the chance to pick one up. With the winter upon me here in NY, the temps have dropped and its back into the shop for a winter of pure building. I picked up a kit and started thinking what I wanted to build. Since I am huge Toyota fan, work as a tech at a dealer, and own 2 1:1 trucks (an 02 Taco on 35s, and 86 4runner soon to be SAS) I knew I wanted to build another Toyota. Only problem with building another Yota is that there are tons of them out there, so I knew I needed to build something that hasn't been done yet. I started looking around my shop at previous and on going builds... Drop bed...been done, Half doors...been done, Missing fender...been done too. Finally the gears started turning and it hit me...a 4 door Hilux would be awesome! There are only 2 or 3 that I know of on the web so I figured why not. I have never tried any sort of 4 door build myself so I figured not only would it be cool but it would be something to challenge me to step up my game.
I grabbed 2 NIB Hilux cabs off the shelf, grabbed the masking tape and fired up the Dremel.
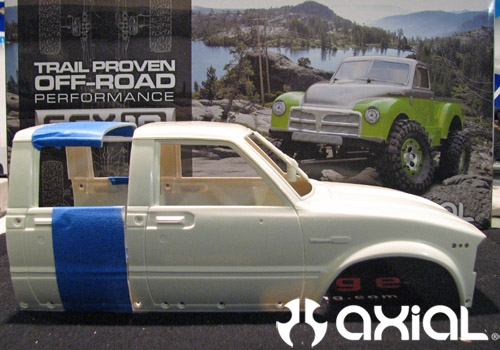
I carefully cut the 2nd cab in less then half and cut the rear window section of the 1st cab .After that, I joined the 2 cabs together using .030 styrene on the side of the door areas of the cabs and the underside of the roofs as well.
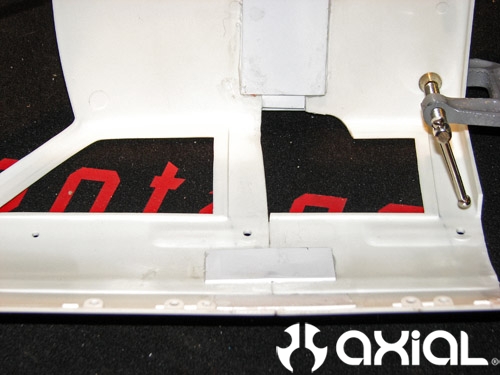
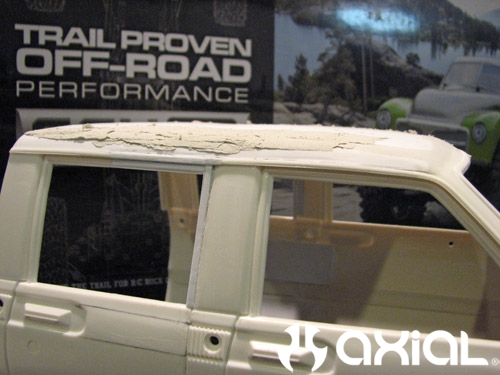
When building scale RC Crawlers I always find it best to use the least amount of body filler as possible. In the past I have found that 2 much filler tends to crack easier and the weight will actually start to add up quickly. In order to avoid the roof being full of filler I decided to skin the roof using .030 piece of plastic styrene on the top and .010 on the sides.
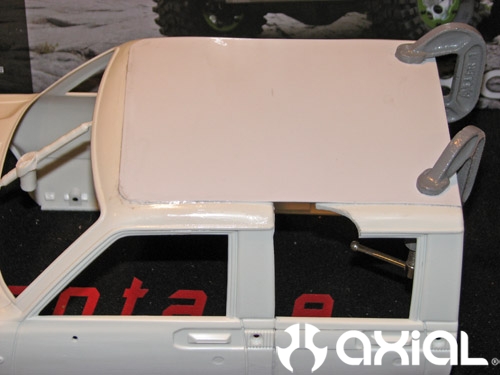
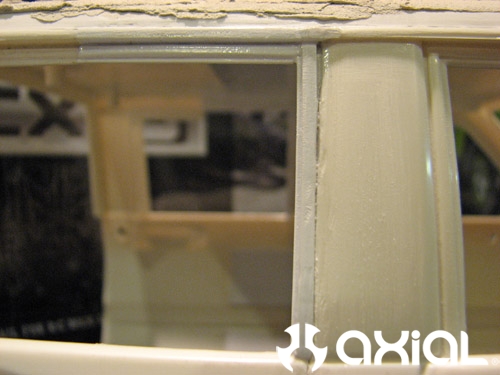
After getting the roof skinned, I applied the 1st coat of filler. While the filler was curing I decided to get started on making the rear window frames. I started 1st by making the front uprights.The main frame support was .060 styrene square stock and the sub frame being .030
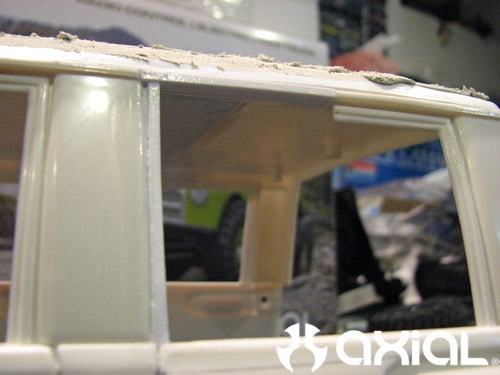
I then made the top part of the frame using the same pieces of styrene for the front portion of the window frame
Well that is it for now, please be sure to check back often for more updates on the 4 door lux.
Thanks
-Mike