Posted: 5/9/17
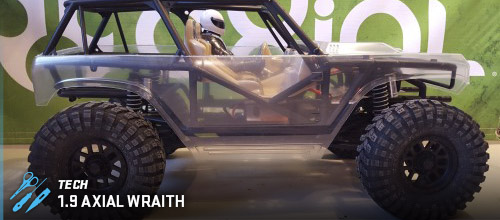
1.9 Axial Wraith Custom Build
by: Rivas Concepts
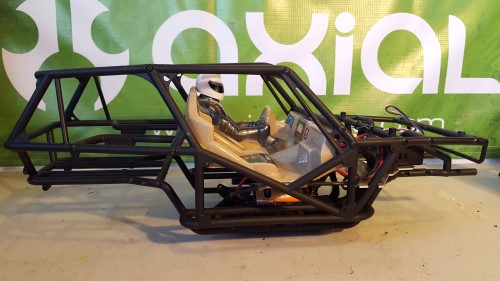
We know a lot of you own an Axial Wraith or have come across them at some point. Like any other R/C, we are sure there are things you would like to change, and maybe you already have! I personally like to keep it scale and in proportion as best possible. The Axial Wraith is a beast and just eats up terrain! But how to make it more scale and add a little challenge to the driving experience? I am doing a 1.9 version. This will consist of swapping in some Axial SCX10 Axles, cut down Axial WB8 drive shafts, SCX10 shocks, and some custom links.
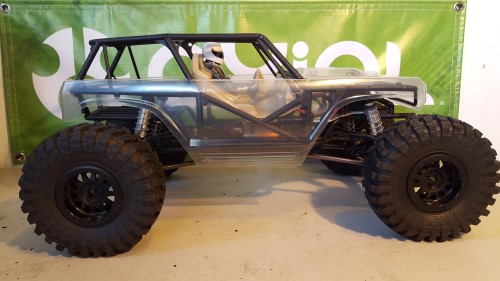
Your Axial Wraith may look like this, or did at some point and time. Axial AR60 Axles, 2.2 wheels, tires and big bore shocks.
One cool thing about the Wraith is you can put all kinds of bodies on it and change the look. I am using the Axial Deadbolt (AX04039) as it fits perfectly, but I am cutting out the interior. With the 2.2 set up, the wheelbase is off a little too much for this build. Longer wheelbase helps with climbing and performance without a doubt. So I am sacrificing the 2.2 performance for the scale look with the 1.9 swap.
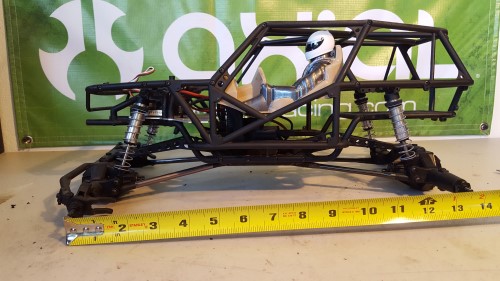
Here is the standard 13 1/2" wheel base on the Axial Wraith Kit version (AX90056), I am sure it's the same on RTR (AX90018).
This is a pretty simple and quick change over in my opinion. You should have 4-links and 2-shocks per axle. Don't forget to undo your servo!
Starting with the lower links seems to be easily accessible, so I am just starting with these.
Next you can move on to the upper links, because I am switching to Scx10 shocks I just removed shocks from cage. Now the Axial AR60 axles are complete with shocks and now ready for your WRONCHO build or something else. You can re-use the bigger shocks, but because I am after a scale look, I am choosing not too.
You should end up with something like this. If you are going to buy a cage, this is all you would really need. The donor parts will be Axial SCX10 axles and shocks.
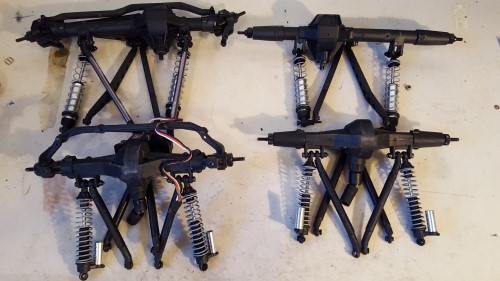
Here you can see difference between the AR60 axles and SCX10 axles (technically the SCX10 axles are AX10 axles as that is their origin). If you really wanted too, you could even use the Axial AR44 axles for even more scale looks. The only part of this project that is not quick is the custom links. You can use All-Thread from your local DIY store. Cut them to appropriate lengths and thread them right into the rod ends, I use a Dremel and cut off wheel for this.There is 1/4" or 1/8" option. Plastic drain hose from the landscaping department will slide over the all thread giving it a finished look.There are many ways to make links, Delrin is a popular choices as well.
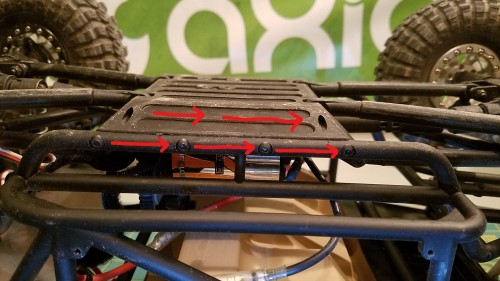
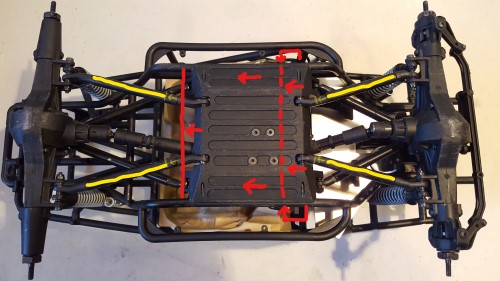
There are a few ways to do this swap. If you don't want really short links up front you can slide the skid plate towards the back one screw hole, this will lengthen the fronts and shorten the rears. Rough diagram pictured below, RED lines show sliding the skid plate back, YELLOW lines are showing you the front links will need to be longer and rears will need to be shorter.
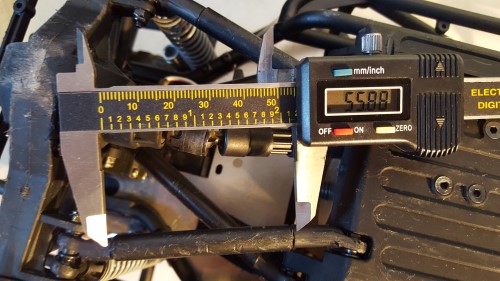
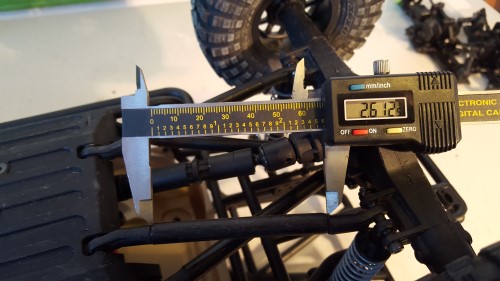
I know EVERYONE is wanting to know measurements. So the front lowers are 55.88 millimeters or 2.2 inches. Keep in mind this is not an eye to eye measurement, this is just for the link portion you will have to make. The eye to eye measurement is 3.36 inches or 85.5 millimeters.
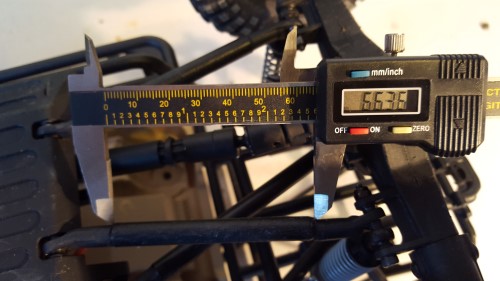
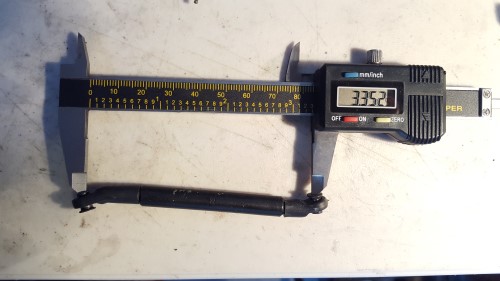
The rear lowers are 66.36 millimeters or 2.6 inches. Again this is just length of link you need to make, not an eye to eye measurement. The eye to eye measurement is 4.05 inches or 103.6 millimeters. Be sure to use a bent rod end so it moves freely.
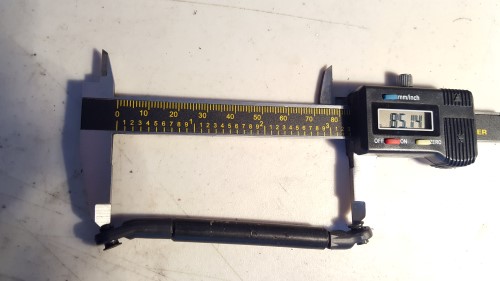
The upper rear link is 85.14 millimeters eye to eye or 3.35 inches. The type of rod end you choose to use will have some affect on this length.

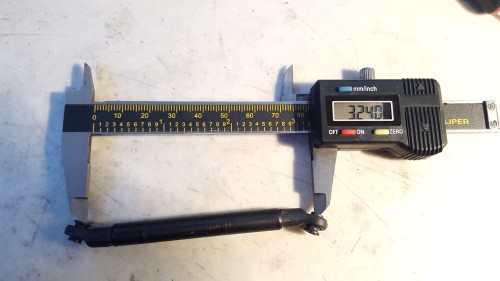
The front upper link is 82.31 millimeters eye to eye or 3.24 inches. Again the type of rod end you choose to use will affect this length.
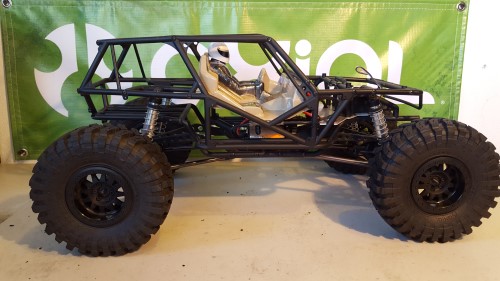
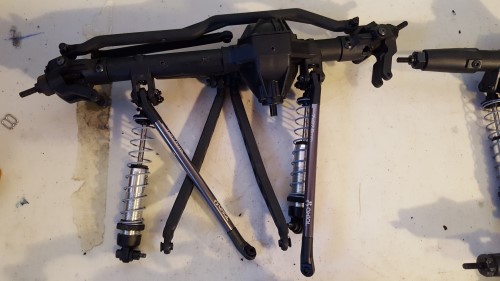
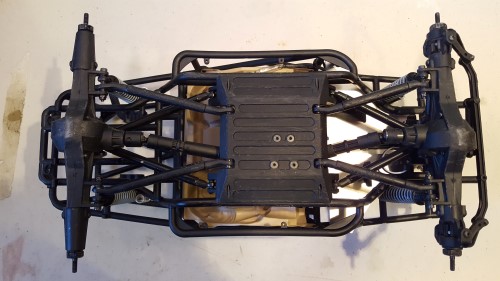
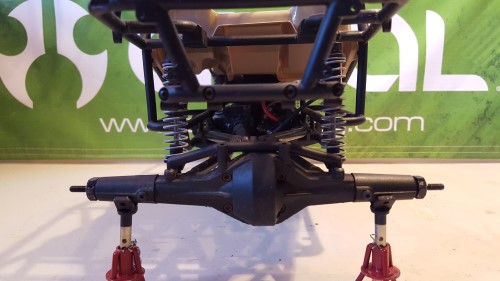
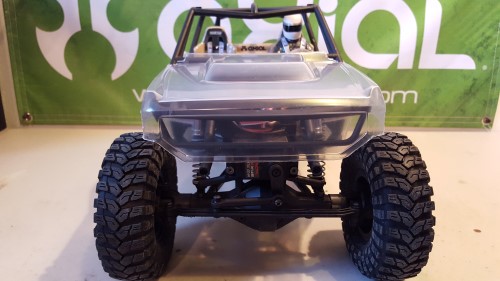
Once you have upper and lower links installed you can mount up your shocks, it should now be close to an operating 1.9 Wraith.
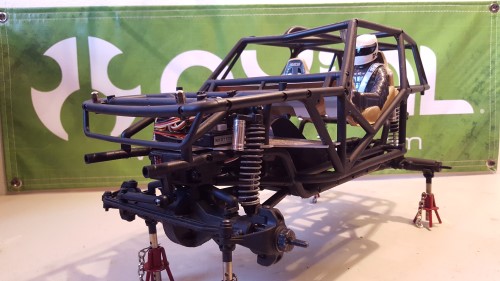
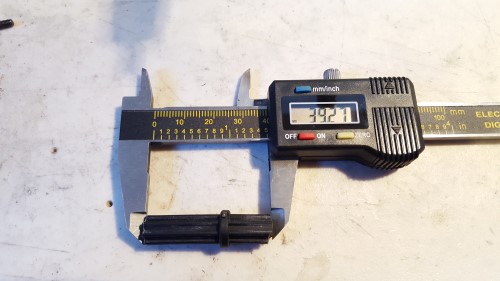
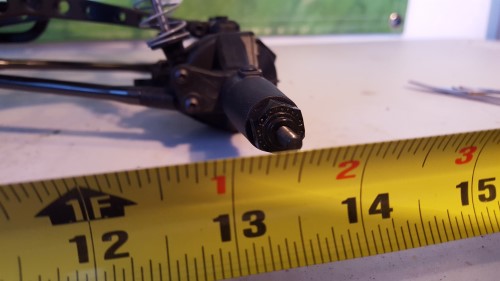
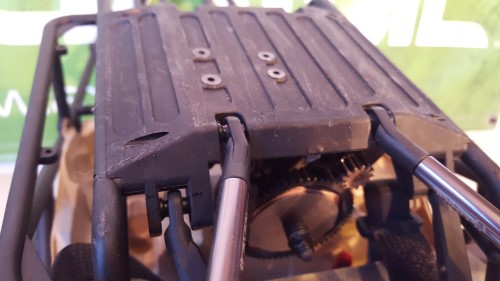
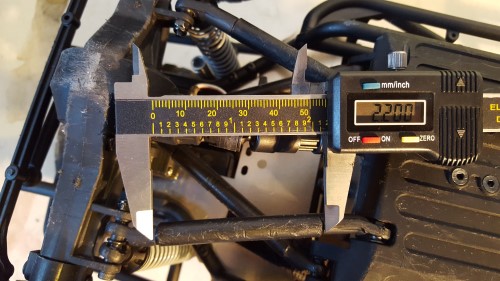
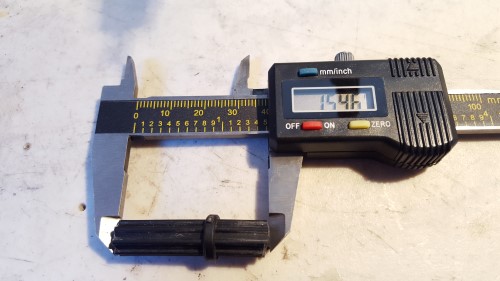
Close, meaning it still needs drivelines, I am a fan of just cutting down the Axial WB8 driveshaft's (AX30794) because the are very easy to work with and reliable. If your running big power there is no doubt your blowing through moving parts, these are plastic so take this into consideration in your build. The driveline centers are cut down to 39 millimeters or 1.5 inches. They need to telescope for suspension movement, but not fall out. Depending on shocks you will need to experiment with this. I use a Dremel and cut off wheel, shaving millimeters at a time.
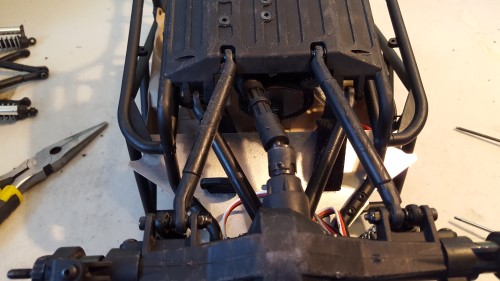

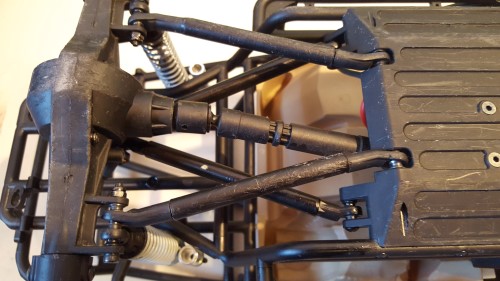
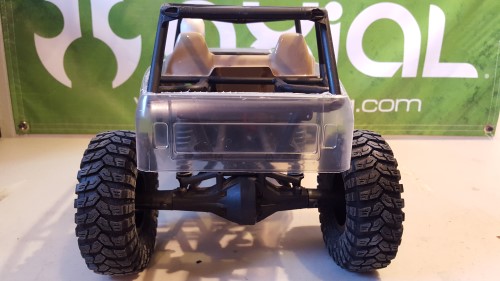
You will need to cut the female ends on both sides of drivelines as well. The front pictured above is extremely short but it fits and doesn't fall out. The rear pictured below is longer. If you want more to work with on the front, you can cheat and slide the skid back one hole as I showed earlier.
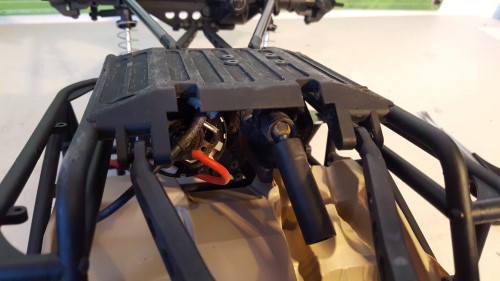

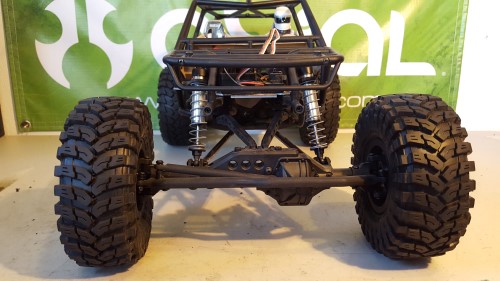
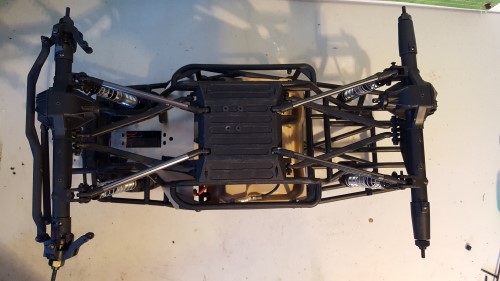
Front and rear drivelines installed and ready to test, don't forget to plug your servo in. This build is with servo on axle, you can get creative and do a CMS (Chassis mounted servo) if you are up to it.
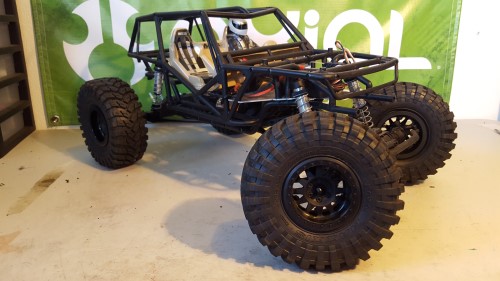
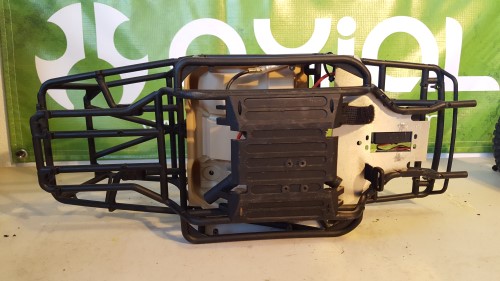
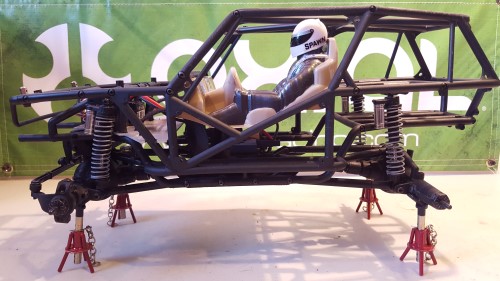
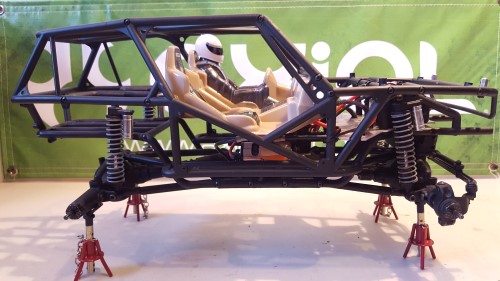
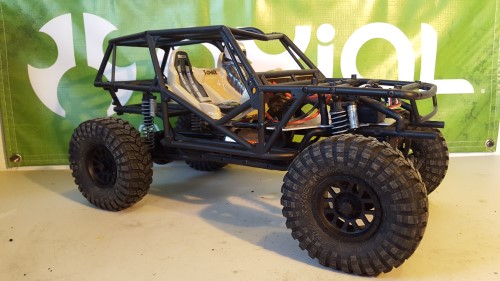
Axial SCX10 axles now under a Wraith cage with SCX10 shocks.
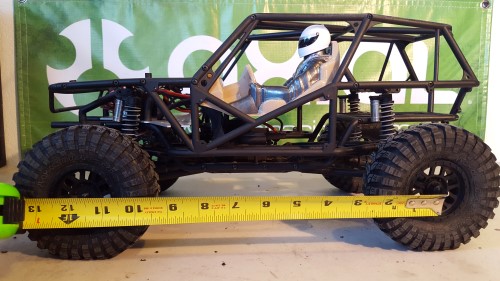
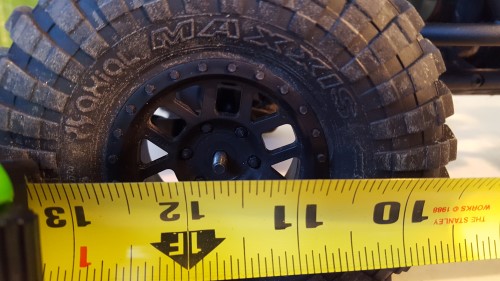
When this project started it was AR60 axles and a wheelbase of 13.5 inches.
Now with custom links and SCX10 axles, it is now sitting at 11.75 inches.

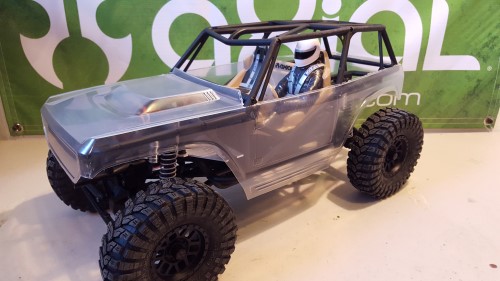
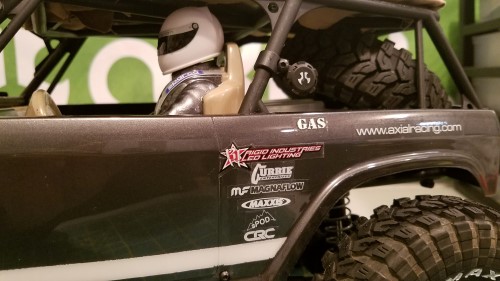
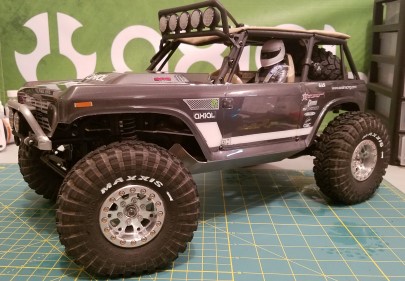
At this point you can mount your body and start all the scale building.
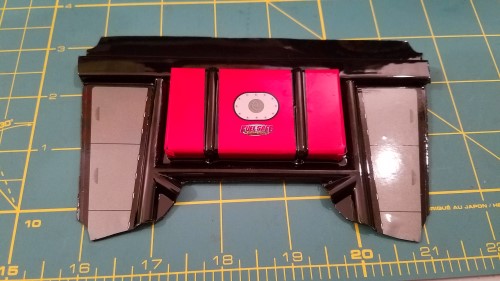
At the beginning I mentioned I cut the interior out of a an Axial Deadbolt body (AX04039), I am now going to use the rear section as part of the build.
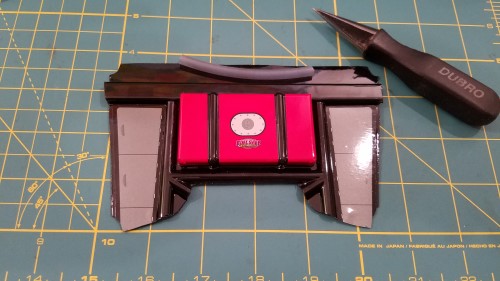
A little fuel tube and a body reamer is all I am using here. Make sure the fuel tube fits in snug, you can use shoe goo or some adhesive of your choosing as insurance to make sure it stays in place.
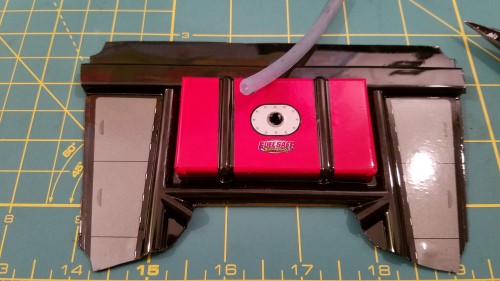
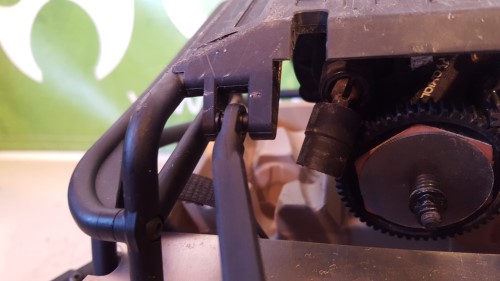
Axial tree AX80085B Part #3 clamped on the cage and Axial Trans cover tree AX80078 Part #3 makes a cool fuel door.
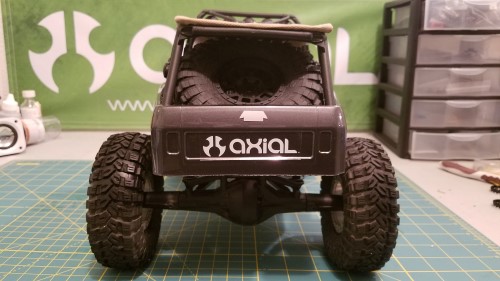
You can add a spare tire, light bar or anything you can dream up at this point.
Hopefully this blog has shown you how to create something new to you, or perhaps inspiration for something you wanted to do by mixing and matching Axial parts, cars, and kits to achieve that one-off custom built look. SAVE ALL YOUR PARTS AND EVERYTHING THAT COMES IN THE BOX! You never know what you can do until you try, so keep building and coming up with new ways to use parts.